
前回はVMware上にCentOS 64bit版をインストールしました。
前回の記事はこちら⇒VMware PlayerでCentOS(Linux) 64bit版をインストールする手順
今回は、Oracleのフリーバージョンの「Oracle XE(Express Edition)」。
こちらを、RPMパッケージよりLinux(CentOS) 64bit版にインストールします。
なお、今回のバージョンは以下です。
- CentOS-6.4-x86_64
- Oracle Database Express Edition 11g Release 2
Oracle XEのダウンロード
まずは、Oracle公式サイトからOracle XEをダウンロードする。
「Oracle Database Express Edition 11g Release 2 for Linux x64」とかいうやつ。
なお、Windows用は32bit版、Linux用は64bit版しかないので、注意。
Oracle XEのインストール
ダウンロードしたZIPファイル「oracle-xe-11.2.0-1.0.x86_64.rpm.zip」をCentOSへ配置する。
なお、今回はWinSCPを使用してSFTPで配置した。
WinSCPについてはこちらの記事参照⇒Linux(CentOS)へSSH接続するための設定
まずは、配置したZIPファイルを解凍する。
ZIPファイルの解凍コマンドは「unzip」。
インストールされていない場合は、インストールが必要。
#ZIPファイル解凍
$ unzip oracle-xe-11.2.0-1.0.x86_64.rpm.zip
-bash: unzip: コマンドが見つかりません

#「unzip」のインストール
$ yum install unzip

#ZIPファイル解凍
$ unzip oracle-xe-11.2.0-1.0.x86_64.rpm.zip
Archive: oracle-xe-11.2.0-1.0.x86_64.rpm.zip
 creating: Disk1/
 creating: Disk1/upgrade/
 inflating: Disk1/upgrade/gen_inst.sql
 creating: Disk1/response/
 inflating: Disk1/response/xe.rsp
 inflating: Disk1/oracle-xe-11.2.0-1.0.x86_64.rpm
ZIPファイルの解凍が完了したら、「Disk1」ディレクトリの中に「oracle-xe-11.2.0-1.0.x86_64.rpm」というRPMパッケージがあるので、インストールする。
なお、インストールの際に、「libaio」、「bc」とやらが必要みたい。
#RPMパッケージのインストール(エラー)
$ rpm -ivh Disk1/oracle-xe-11.2.0-1.0.x86_64.rpm
エラー: 依存性の欠如:
libaio >= 0.3.104 は oracle-xe-11.2.0-1.0.x86_64 に必要とされています

#「libaio」のインストール
$ yum install libaio

#再度、RPMパッケージのインストール(エラー)
$ rpm -ivh Disk1/oracle-xe-11.2.0-1.0.x86_64.rpm
準備中... ########################################### [100%]
/var/tmp/rpm-tmp.EJ7nNL: line 186: bc: コマンドが見つかりません

This system does not meet the minimum requirements for swap space. Based on
the amount of physical memory available on the system, Oracle Database 11g
Express Edition requires 2048 MB of swap space. This system has 1983 MB
of swap space. Configure more swap space on the system and retry the
installation.

エラー: %pre(oracle-xe-11.2.0-1.0.x86_64) scriptlet failed, exit status 1
エラー: install: スクリプト %pre の実行に失敗しました (2)。oracle-xe-11.2.0-1.0 をスキップします。

#「libaio」のインストール
$ yum install bc

#再度、RPMパッケージのインストール(正常終了)
$ rpm -ivh Disk1/oracle-xe-11.2.0-1.0.x86_64.rpm
準備中... ########################################### [100%]
 1:oracle-xe ########################################### [100%]
Executing post-install steps...
You must run '/etc/init.d/oracle-xe configure' as the root user to configure the database.
Oracle XEのデータベース構成
rmpファイルインストール後のメッセージで、「/etc/init.d/oracle-xe configure」というコマンドが表示される。
これを実行し、データベース構成を行う。
対話型コマンドで、ポート番号などを聞かれるがデフォルトにした。
…が、エラーとなった。
#Oracle XEのデータベース構成(エラー)
$ /etc/init.d/oracle-xe configure
racle Database 11g Express Edition Configuration
-------------------------------------------------
This will configure on-boot properties of Oracle Database 11g Express
Edition. The following questions will determine whether the database should
be starting upon system boot, the ports it will use, and the passwords that
will be used for database accounts. Press to accept the defaults.
Ctrl-C will abort.

Specify the HTTP port that will be used for Oracle Application Express [8080]:

Specify a port that will be used for the database listener [1521]:

Specify a password to be used for database accounts. Note that the same
password will be used for SYS and SYSTEM. Oracle recommends the use of
different passwords for each database account. This can be done after
initial configuration:
Password can't be null. Enter password:
Confirm the password:

Do you want Oracle Database 11g Express Edition to be started on boot (y/n) [y]:y

Starting Oracle Net Listener...Done
Configuring database...
Database Configuration failed. Look into /u01/app/oracle/product/11.2.0/xe/config/log for details
メッセージ表示されている通りに、「/u01/app/oracle/product/11.2.0/xe/config/log」にあるログファイルを見てみる。
すると、「cloneDBCreation.log」ファイルにリスナーアドレスが表示されており、どうもホスト名に自分のコンピュータ名が指定されているのだが、これが名前解決できていないよう。
#ログディレクトリ内の一覧表示
$ ls -l /u01/app/oracle/product/11.2.0/xe/config/log
-rw-r--r--. 1 oracle dba 1369  7月 21 15:18 2013 CloneRmanRestore.log
-rw-r--r--. 1 oracle dba 7945  7月 21 15:19 2013 cloneDBCreation.log
-rw-r--r--. 1 oracle dba 1123  7月 21 15:20 2013 postDBCreation.log
-rw-r--r--. 1 oracle dba  227  7月 21 15:19 2013 postScripts.log

#「cloneDBCreation.log」を開く
$vi /u01/app/oracle/product/11.2.0/xe/config/log/cloneDBCreation.log

ORA-01034: ORACLE not available
ORA-27101: shared memory realm does not exist
Linux-x86_64 Error: 2: No such file or directory
ORA-00119: invalid specification for system parameter LOCAL_LISTENER
ORA-00130: invalid listener address '(ADDRESS=(PROTOCOL=TCP)(HOST=myserver)(PORT=1521))'
Create controlfile reuse set database "XE"
*
行1でエラーが発生しました。:
ORA-01034: ORACLE not available
プロセスID: 0
セッションID: 0、シリアル番号: 0
自分のコンピュータ名を名前解決できるように、「/etc/hosts」ファイルを編集する。
自分自身を示す「127.0.0.1」を、自分自身のコンピュータ名と紐付ける。
#「/etc/hosts」ファイルの編集
$ vi /etc/hosts

127.0.0.1   myserver
気を取り直して、再度データベース構成を行う。
今度は正常終了した。
#再度、Oracle XEのデータベース構成(正常終了)
$ /etc/init.d/oracle-xe configure

Oracle Database 11g Express Edition Configuration
-------------------------------------------------
This will configure on-boot properties of Oracle Database 11g Express
Edition.  The following questions will determine whether the database should
be starting upon system boot, the ports it will use, and the passwords that
will be used for database accounts.  Press  to accept the defaults.
Ctrl-C will abort.

Specify the HTTP port that will be used for Oracle Application Express [8080]:

Specify a port that will be used for the database listener [1521]:

Specify a password to be used for database accounts.  Note that the same
password will be used for SYS and SYSTEM.  Oracle recommends the use of
different passwords for each database account.  This can be done after
initial configuration:
Confirm the password:

Do you want Oracle Database 11g Express Edition to be started on boot (y/n) [y]:y

Starting Oracle Net Listener...Done
Configuring database...Done
Starting Oracle Database 11g Express Edition instance...Done
Installation completed successfully.
SQLPlusでOracle XEへ接続
Oracle XEに必要な環境変数は、下記の「oracle_env.sh」ファイルで設定することができるようになっているよう。
なので、下記のように実行する。
また、Oracle XEへ接続するユーザーの「~/.bashrc」ファイルか、全ユーザーで参照される「/etc/profile」ファイルあたりに同様のコマンドを記載しておけばOK。
#「oracle_env.sh」ファイルの実行
$ . /u01/app/oracle/product/11.2.0/xe/bin/oracle_env.sh
「SQLPlus」でOracle XEへ接続してみる。
#systemユーザーでSQLPlusで接続
$ sqlplus system
SQL*Plus: Release 11.2.0.2.0 Production on 日 7月 21 15:53:31 2013
Copyright (c) 1982, 2011, Oracle. All rights reserved.
パスワードを入力してください:

Oracle Database 11g Express Edition Release 11.2.0.2.0 - 64bit Production
に接続されました。
SQL> select * from v$version;

BANNER
--------------------------------------------------------------------------------
Oracle Database 11g Express Edition Release 11.2.0.2.0 - 64bit Production
PL/SQL Release 11.2.0.2.0 - Production
CORE 11.2.0.2.0 Production
TNS for Linux: Version 11.2.0.2.0 - Production
NLSRTL Version 11.2.0.2.0 - Production
無事にOracle XEに接続できた。
Oracle Application Expressへ接続
通常の「Standard Edition」とかの統合管理ツールは、「Oracle Enterprise Manager(OEM)」。
Oracle XEの場合、Oracle Databaseの統合管理ツールは「Oracle Application Express」というものみたい。
もちろんできることは、かなり少ないよう。
まずは、「iptables」でポートを開放する。
今回の場合、「Oracle XEのデータベース構成」で設定した8080番ポート。
設定方法は「SSH」のものをまねして、以下のように設定した。
#iptablesの設定を編集
$ vi /etc/sysconfig/iptables

# SSH
-A INPUT -m state --state NEW -m tcp -p tcp --dport 22 -j ACCEPT
# Oracle XE
-A INPUT -m state --state NEW -m tcp -p tcp --dport 8080 -j ACCEPT

#iptablesの再起動
$ /etc/rc.d/init.d/iptables restart
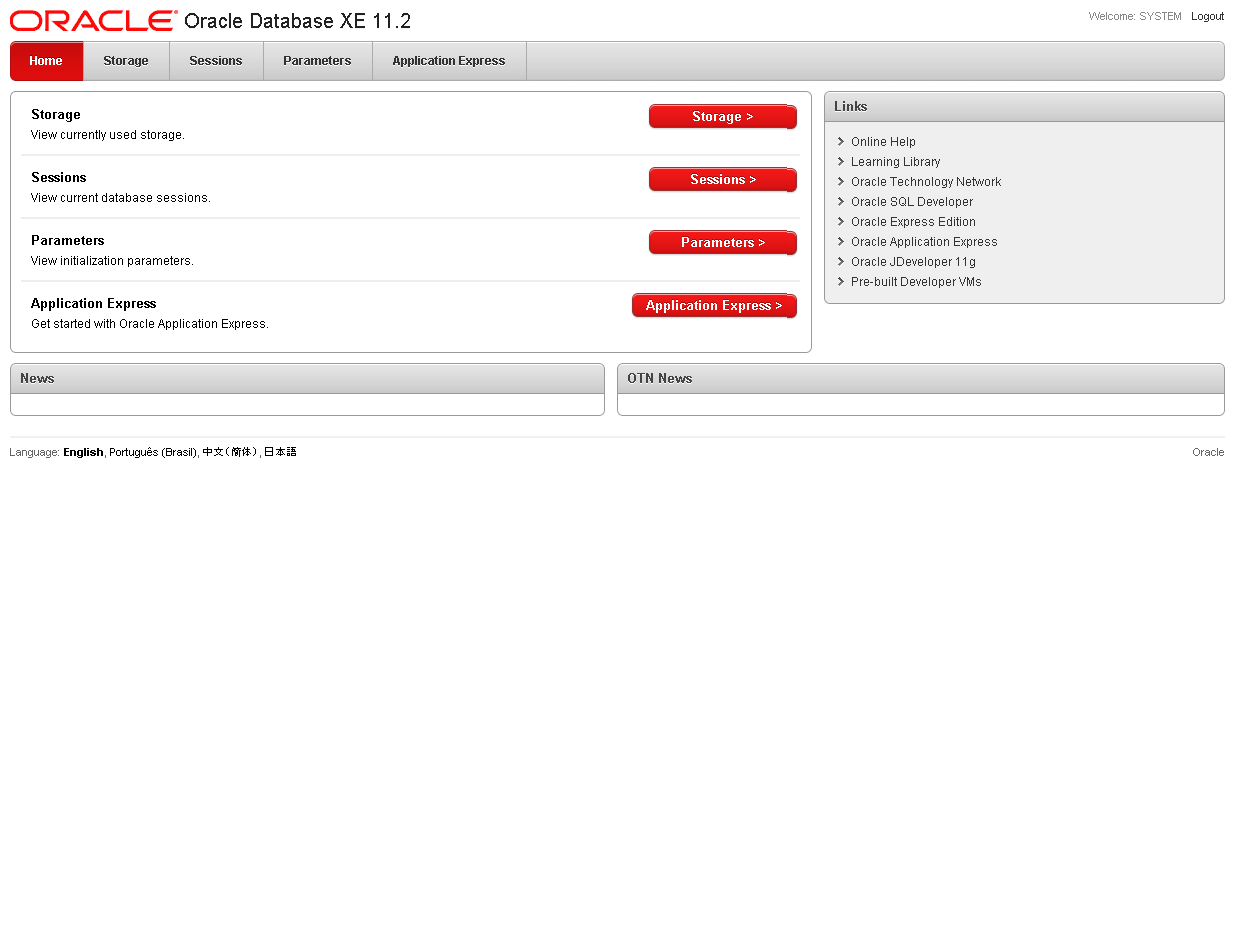
これで無事に「http://CentOSのIPアドレス:8080/」へアクセスでき、ユーザー「system」で、Oracle Application Expressへログインできた。
画面はこんな感じです。
以上で終了ー。
参考サイト
Scientific Linux 6.2にOracle XE 11g R2をインストールする – ser1zw’s blog


コメント
[…] Linux(CentOS) 64bit版へOracle XE(Express Edition)をインストール […]